
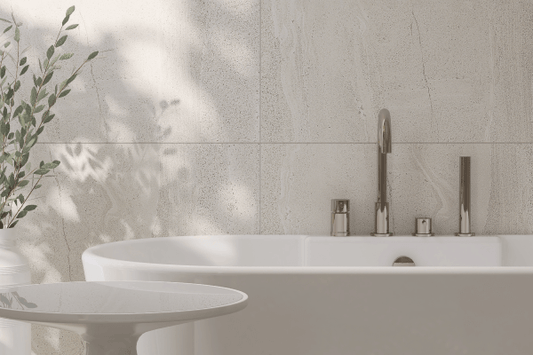
Renew and create the bathroom of your dreams


Summer Days: -25% off everything


100% Fiberglass - for bathrooms and shower enclosures
Coating made with special yarns of fiberglass woven in a textile effect. The perfect solution for humid environments and water contact
High mechanical resistance, washable, PVC free, and excellent protection against cracks and fissures
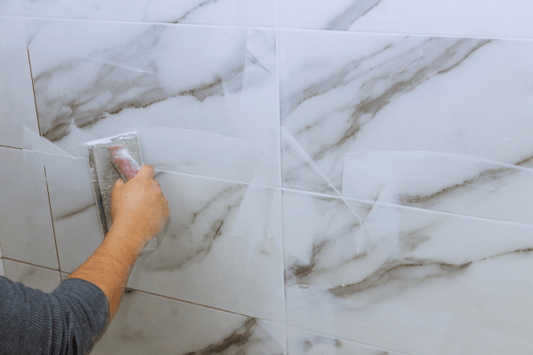
Application with fiberglass adhesive (included in the price)
Weight (+/-) 195 g/m²


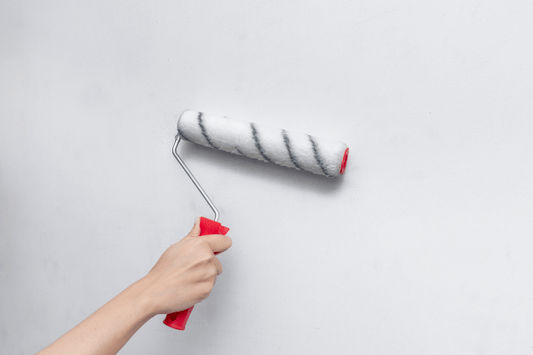
To install the Wall Mural in a humid environment and ensure a lasting and flawless result, it is essential to follow a meticulous process that includes specific preparation and protection steps. Here are the detailed phases:
This is the most critical phase, especially in environments subject to humidity. The goal is to create a surface as smooth, uniform, and sanitized as possible to prevent mold formation.


Thanks for subscribing
This email is already registered!
| Product | Description | Stile | Ambiente |
|---|